In the previous post, we prepared a VM with the appropriate settings for CentOS 6.8. In this post we’ll go through the actual OS install.
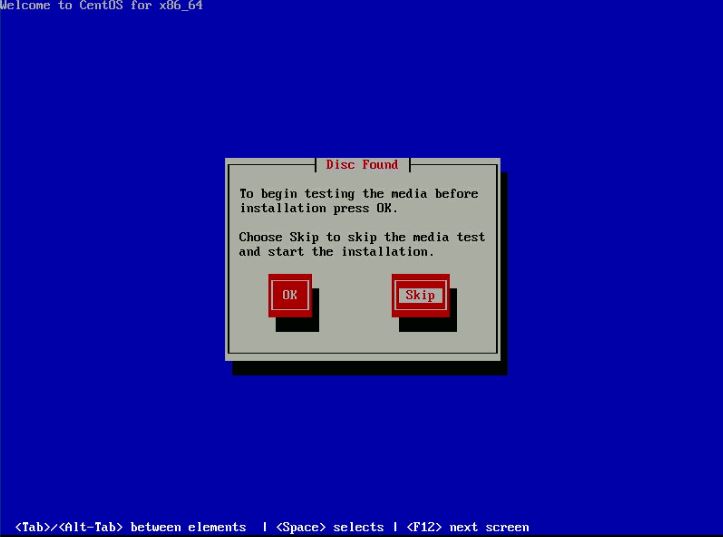
Open a console for the VM. The first thing you will be asked to do is to run a test on the installation media. For ISO images I normally skip this stage:
Click Next:
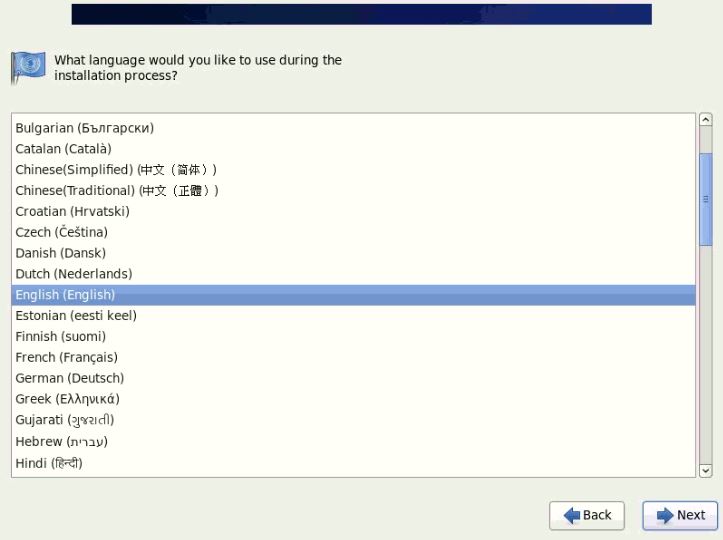
Select an installation language and click Next:
Choose a keyboard layout and click Next:

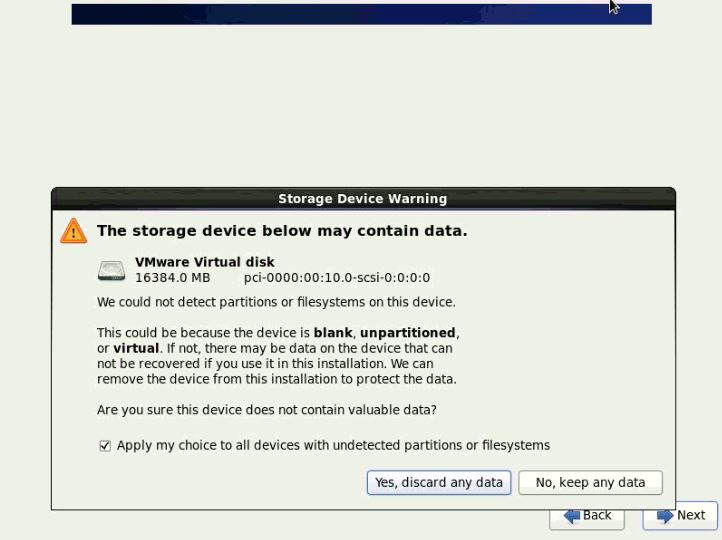
The next screen essentially warns you that, because the virtual disk is not recognised by the installer, it may have data on it that we might want to keep. Click Yes, discard any data:
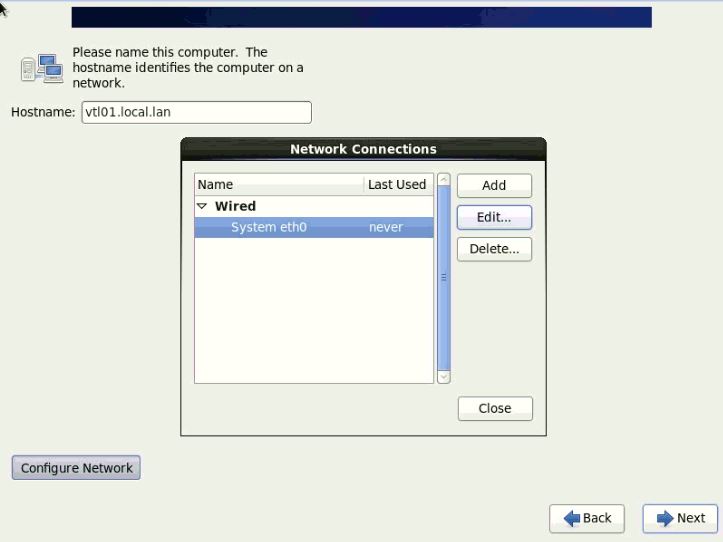
Enter a fully qualified domain name (FQDN) for the new VM. Then click Configure Network. This is important as the virtual NIC will not be connected to the network by default so its properties will need to be changed. Select the System eth0 connection and click Edit:
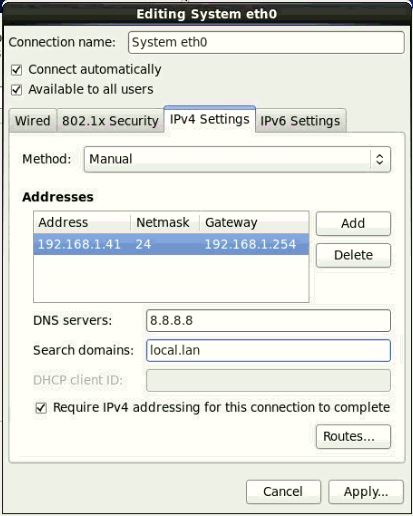
Check the box labeled Connect automatically. Then select the IPv4 Settings tab. Fill in the IP address settings that you wish to us. Here I’ve set a static IP address but you could choose DHCP. Click Apply:
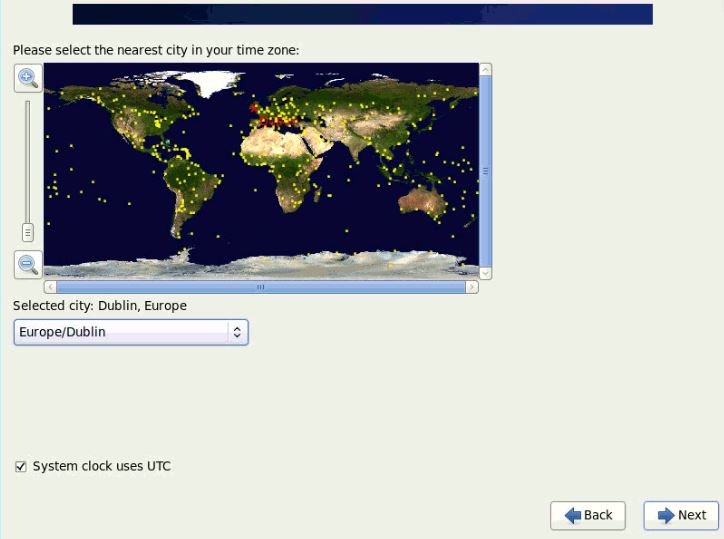
Select your nearest city within your timezone and click Next:
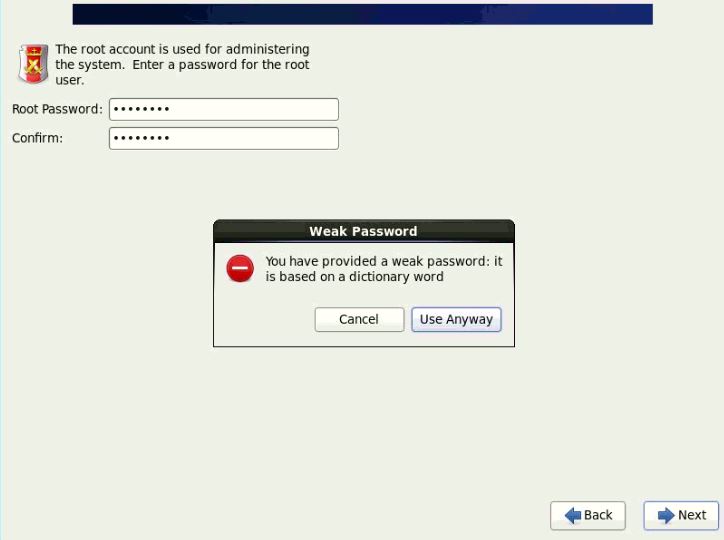
Enter a password for the root user. Because this is a non-secure system for lab use, I usually make this something simple that I can remember easily, so I get the warning seen below. Click Next to continue:
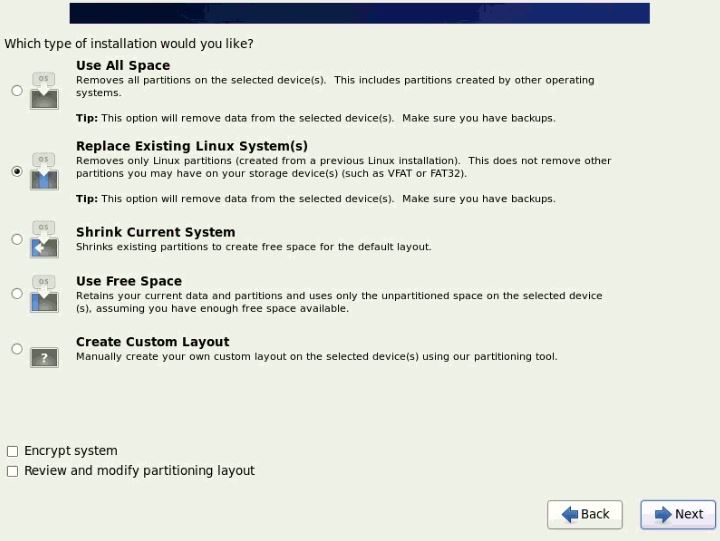
Leave the installation type at its default setting and click Next:
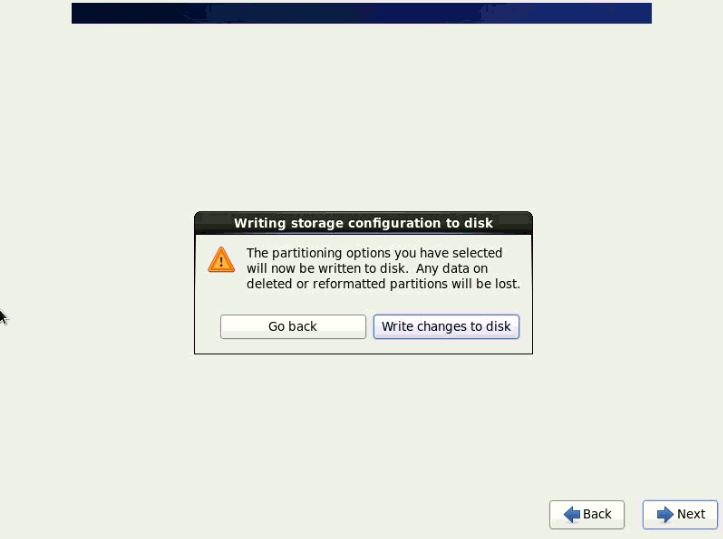
Click Write changes to disk. This will take a few minutes.
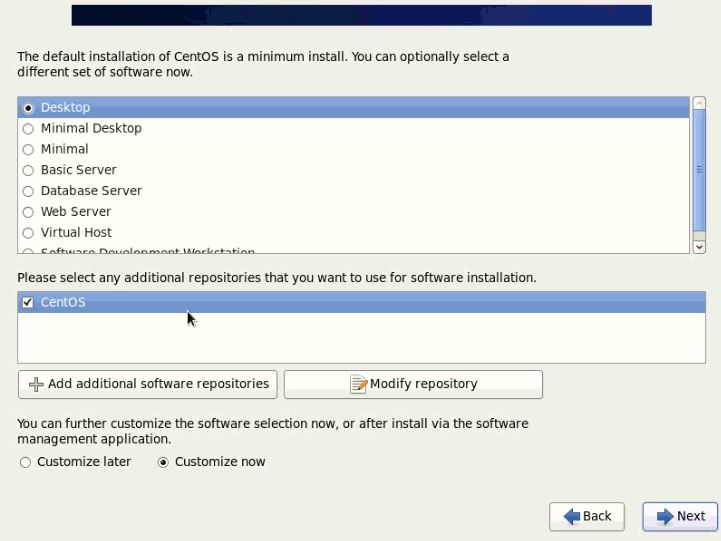
Choose a Desktop install (this simply makes it easier to change firewall rules later). Make sure to select the Customize now radio button. Click Next:
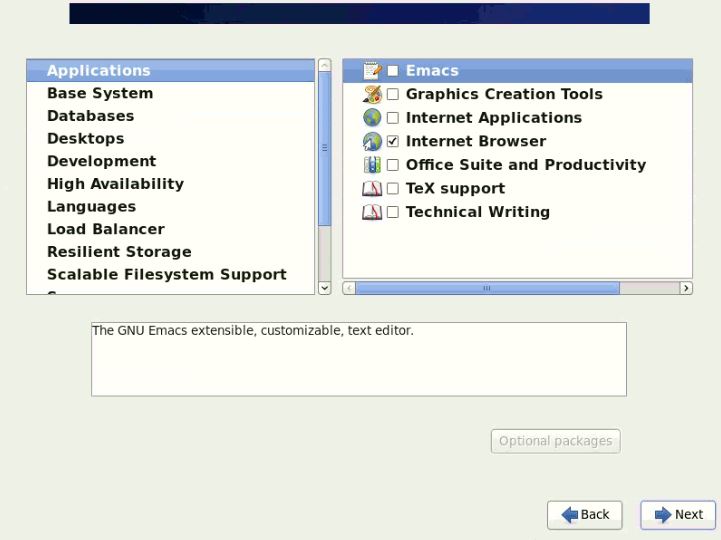
Here I’ve deselected the Internet Applications and Office Suite and Productivity packages.This is purely to save space and speed up the installation.
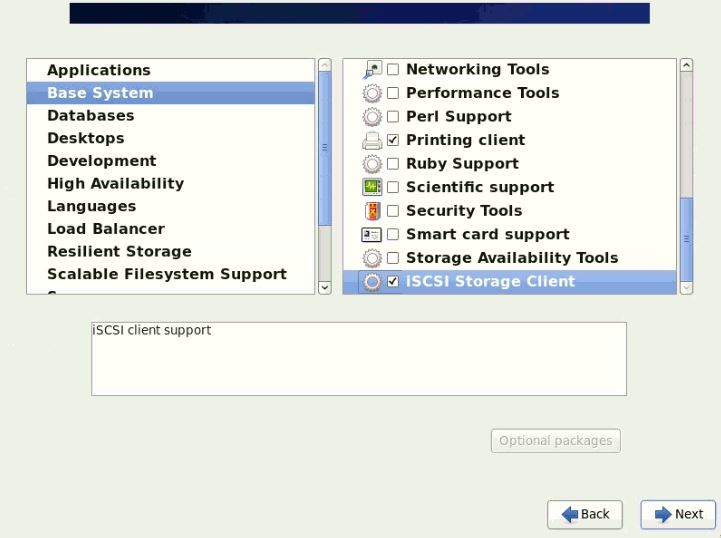
Under Base System, select iSCSI Storage Client. I’m not if this is needed, but since the VTL is iSCSI based I’ve decided that it can’t hurt to install it.
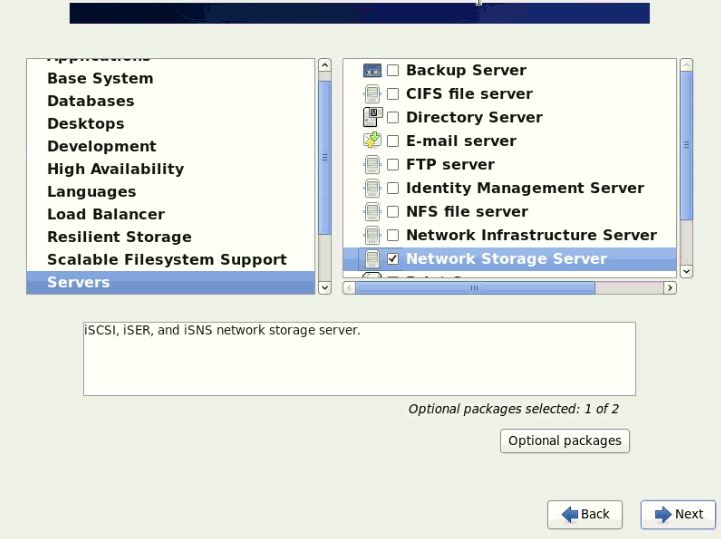
Under Servers, select Network Storage Server. Again, I’m not sure if this is required but since it includes the iSCSI target packages, I figured it should be included. Click Next:
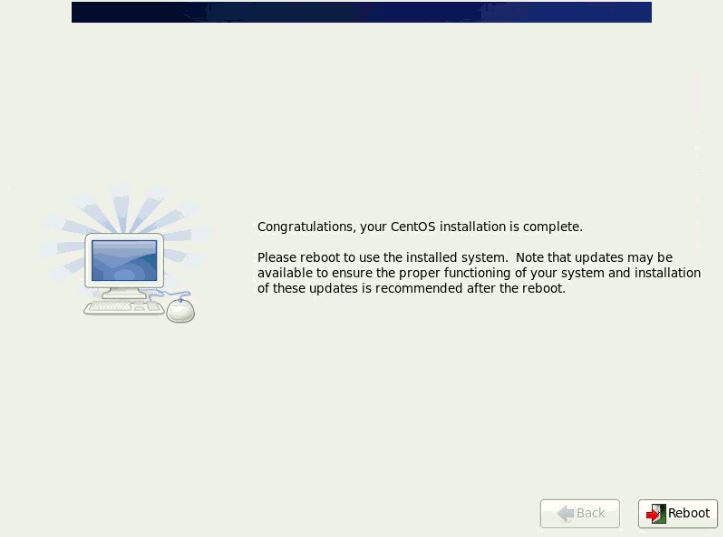
The installation will now start. Over 1100 packages will be installed so this will take some time. When the install has completed click Reboot:
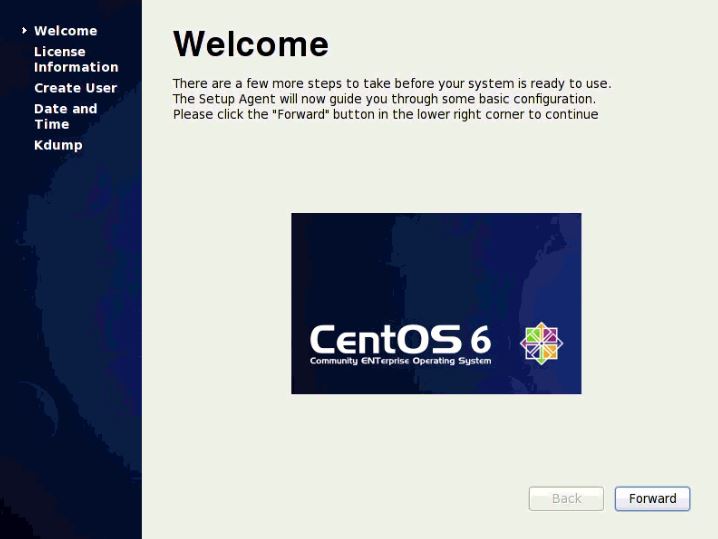
Once the VM has rebooted we need to complete just a few more steps. The console will display the following Welcome screen. Click Forward:
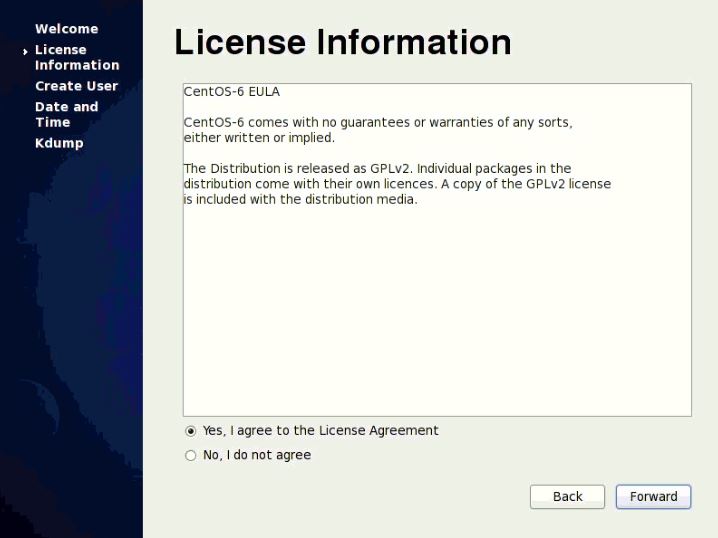
Accept the license and click Forward:
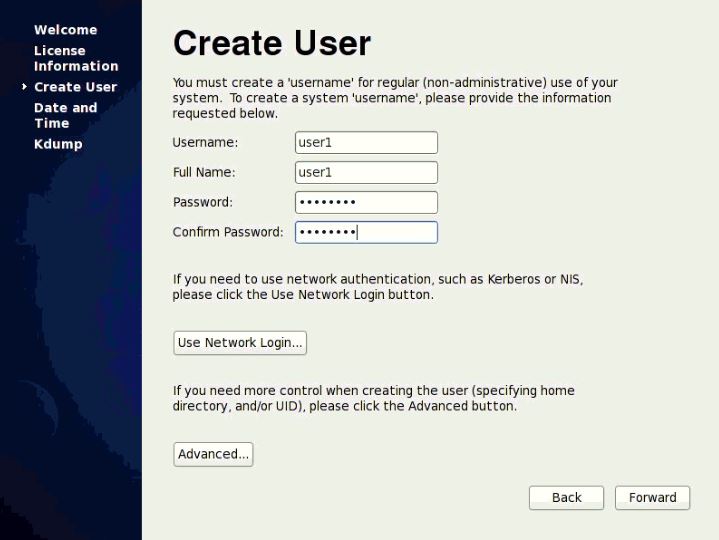
Create a new user. This is the user that you will use for all logins. Click Forward:
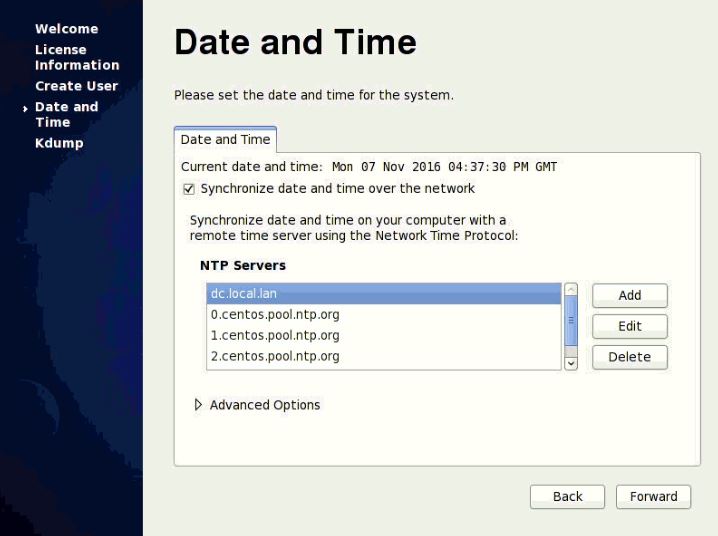
Select a time source. Here I’ve chosen to use NTP and I’ve added an Active Directory DC as one of my NTP servers. Alternatively you could choose to manually set the time. Click Forward:
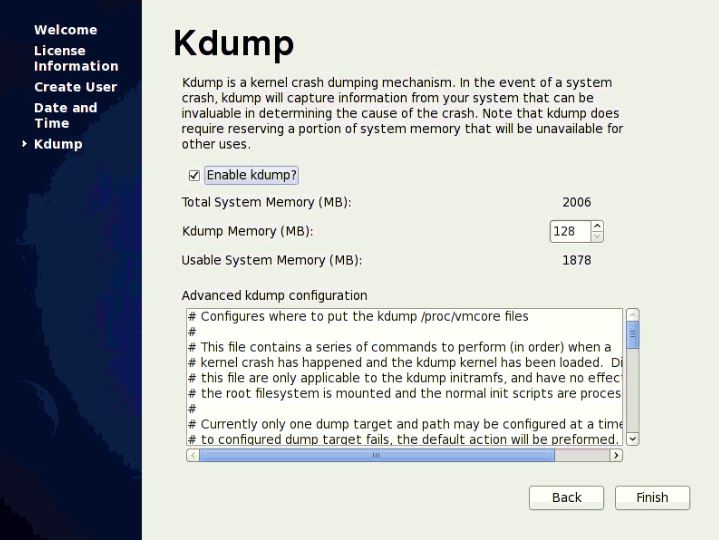
Leave the Kdump settings at their defaults. This will avoid the necessity of rebooting at this stage. Click Finish:
You should now be presented with a login screen on the VM console.
In the next post we’ll run through patching the system and installing some extra packages in preparation for installing QuadStor VTL.
Part 3 – CentOS Patching and QuadStor VTL Install
Part 4 – Final Configuration and Veeam Integration
