As a Veeam partner, I was recently sent a link to download an evaluation copy of Veeam Availability Suite 9 in advance of its GA date. I decided to give it a whirl by upgrading my lab deployment. My lab is a vSphere 6 environment where I run Veeam Availability Suite 8 with all components installed – Backup and Replication, Backup Enterprise Manager and Veeam One. Read on to see how I did it.
Veeam Availability Suite brings a host of great enhancements including:
- Integration with EMC VNX/VNXe snapshots
- Replication to the cloud for DR
- Transaction-level recovery for Oracle through enterprise-level enhancements for Veeam Explorers
- Advanced tape suppport, including GFS retention
- Integration with HP StoreOnce Catalyst
- Unlimited Scale-out Backup Repository
- Standalone management console
To read more about these and other enhancements go to
The Upgrade Process
Note: If you have read my previous post about using mhVTL with Veeam, you will need to update your mhVTL appliance, otherwise you will run into problems when trying to backup to tape using Veeam 9. I’ve prepared a run-through of the procedure here.
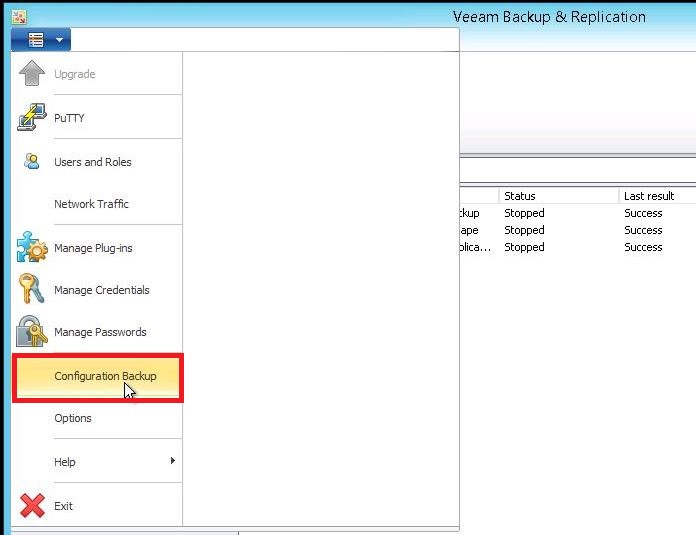
The first thing we need to do before starting the actual upgrade is to prepare the existing environment. As a first step, we will backup the Veeam configuration. To do this, go to the drop-down menu in the top left-hand corner of the Veeam Console and click on Configuration Backup:
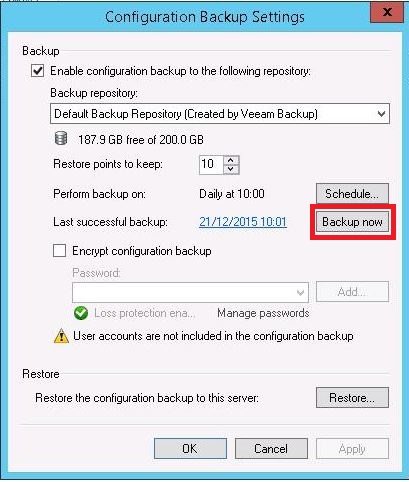
You’ll see that the Veeam configuration is backed up on a regular schedule by default. You can see that the backup happens every day at 10AM and that 10 restore points are kept. Just in case any changes have been made since the last automated backup, we will kick of a manual backup. Click on Backup now:
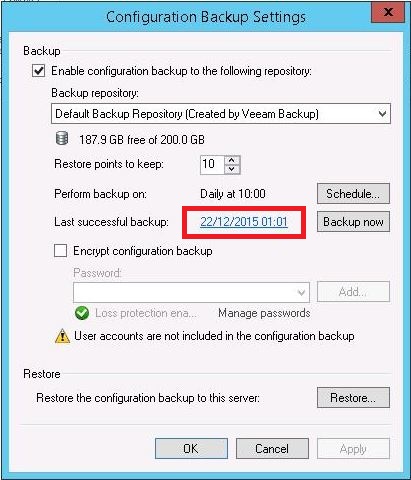
When the backup has completed you’ll see that the date and time for “Last successful backup” will have been updated. Click OK to close the dialogue.
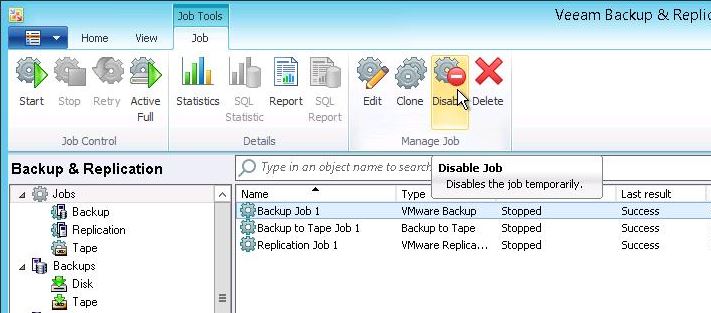
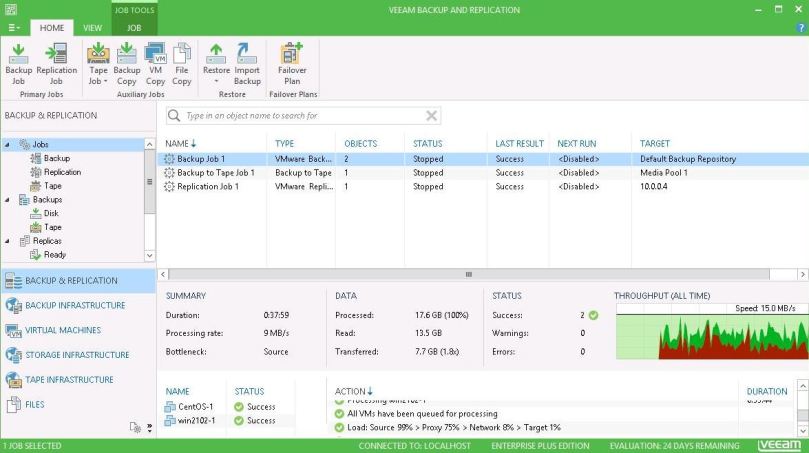
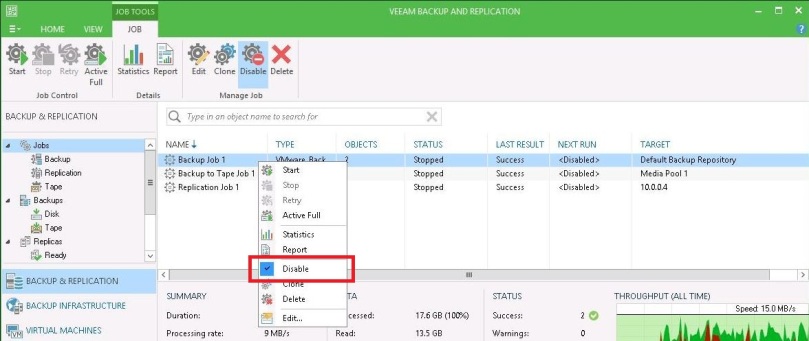
Now we’ll disable all our backup and replication jobs – we wouldn’t want a job to start in the middle of the upgrade process! You can see here that I have 3 jobs configured – a regular backup job, a backup to tape job, and a replication job. I’ve made sure that none of them are currently running and that each was successful on its last run. Highlight each job and click on the Disable icon:
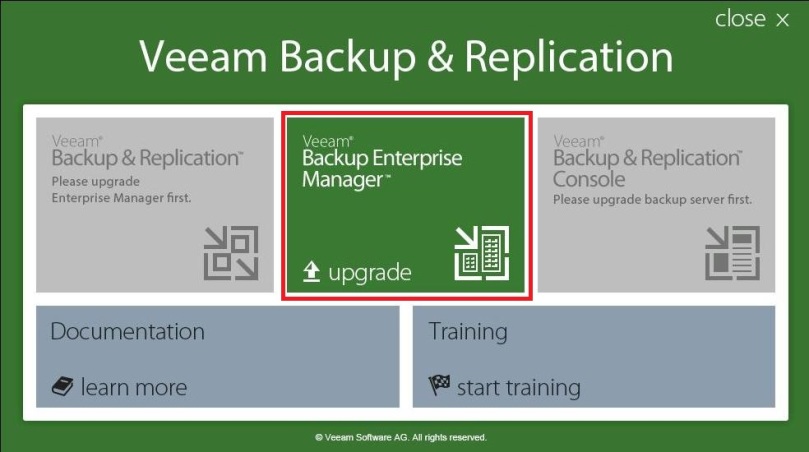
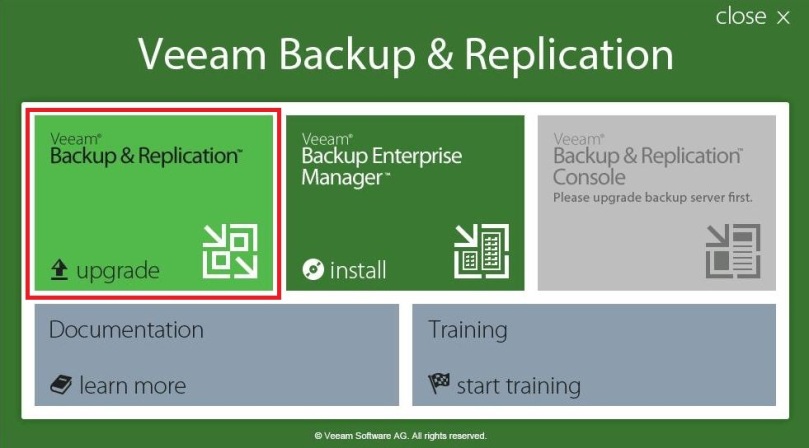
Now, mount the installation ISO file and double click the setup executable. You’ll see the splash screen below. Note that the installation utility has detected that I have installed a previous version of Backup Enterprise Manager. I won’t be able to upgrade Backup & Replication until after I’ve upgraded this component. Click on Upgrade:
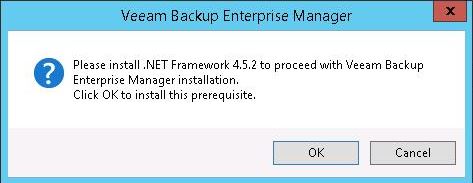
The first message I get tells me that Veeam Backup Enterprise Manager requires .NET Framework 4.5.2. On my system I am running 4.5 so I will need to upgrade this before I can proceed. Luckily, the Veeam installation media includes a redistributable copy the required software so we don’t need to go looking on the internet for a download. Just click OK to start the install:
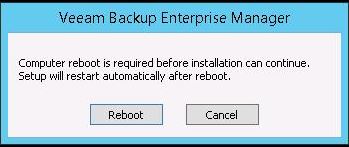
In order to proceed we’ll need to reboot at this stage. Note that if, like me, you are using a mounted ISO file to run the upgrade, the setup will not restart automatically after reboot as sugested by the message below. You will need to remount the ISO and double click on the setup executable again.
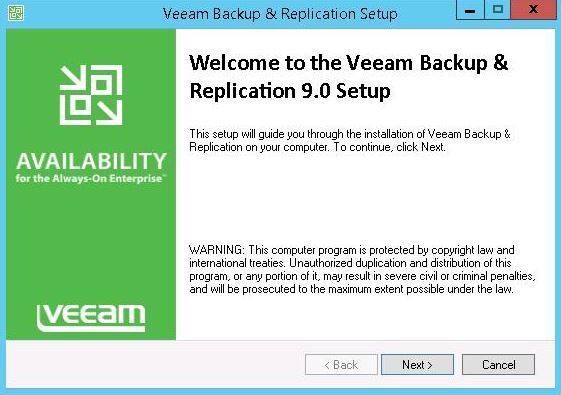
So now we have relaunched the Veeam Backup Enterprise Manger upgrade from the splash screen. Click Next:
Accept the EULA and click Next:
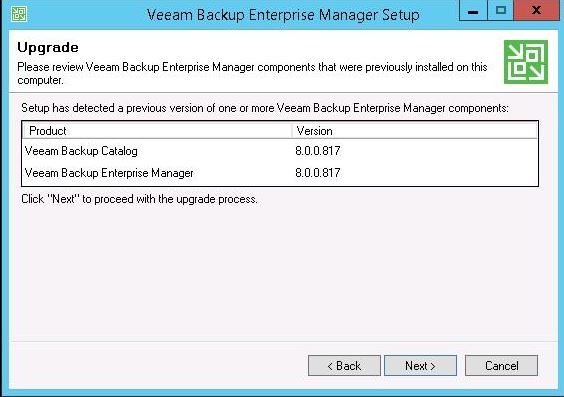
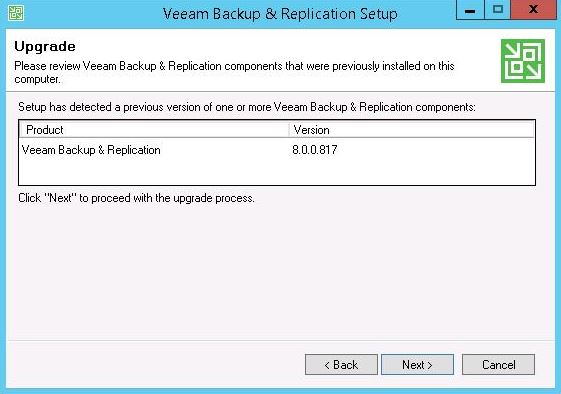
The installer will list out the components that will be upgraded along with their version numbers. Notice that as well as upgrading Backup Enterprise Manager in this phase, we will also be upgrading the backup catalog. Click Next:
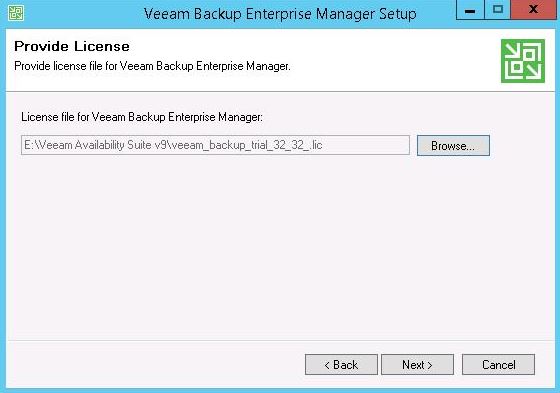
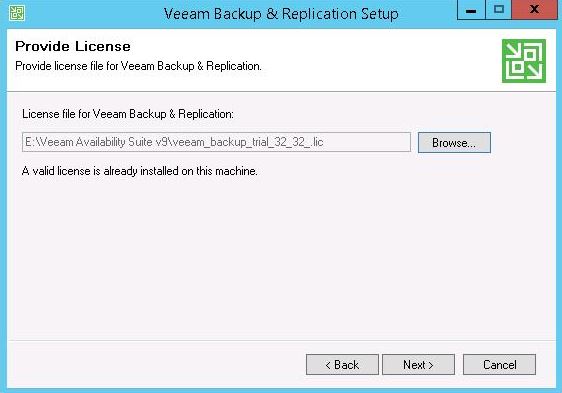
Your previous v8 license can’t be used with this version so you’ll need a v( license to hand. In my case I am applying a 30-day trial license. Browse to the license file and then click Next:
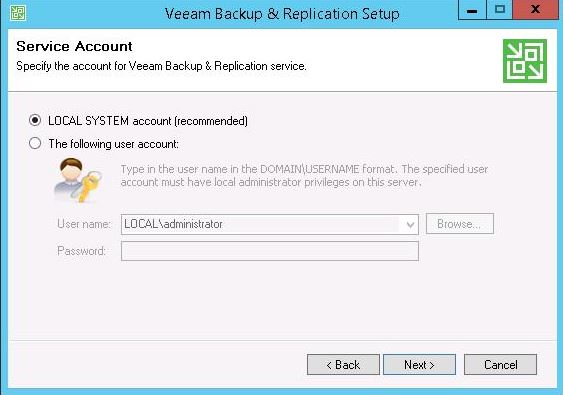
It is recommended that you use the LOCAL SYSTEM account to start the Veeam services and this is the default. This certainly avoids the situation whereby you might have some issues restoring from Veeam if AD was not available. Accept the recommended setting and click Next:

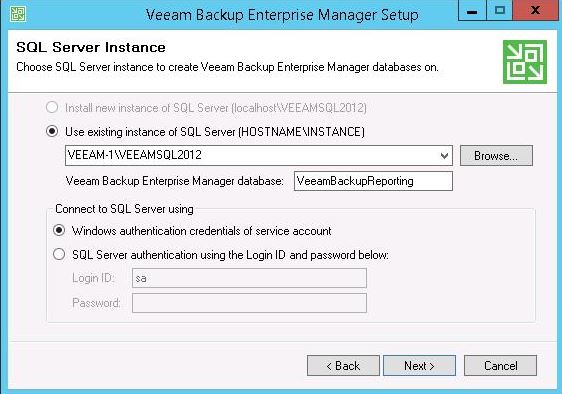
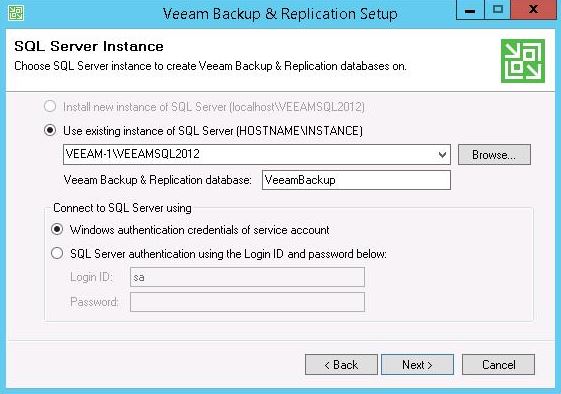
As this is an upgrade installation, we will use the existing SQL Server instance and database. Click next
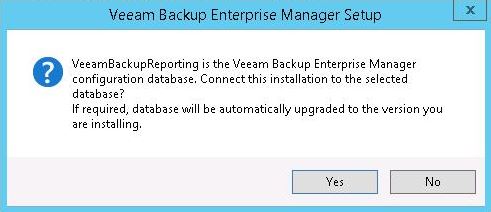
Confirm that we wish to use the existing configuration database by clicking Yes:
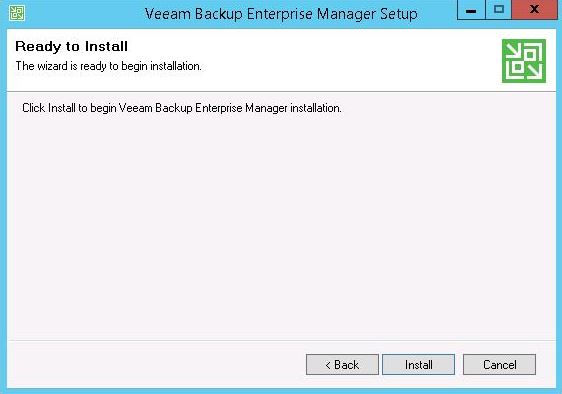
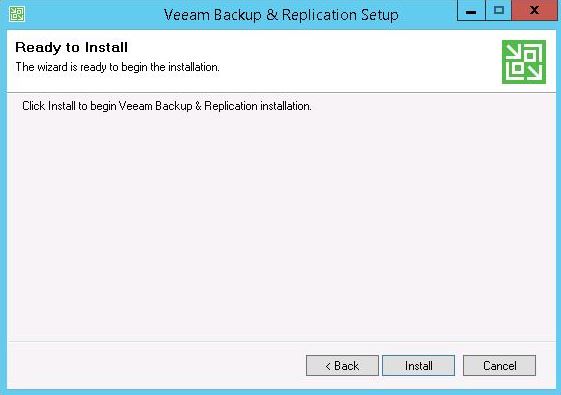
Click Install. The upgrade process can take some time to complete so now would be a good time to make a cup of tea!
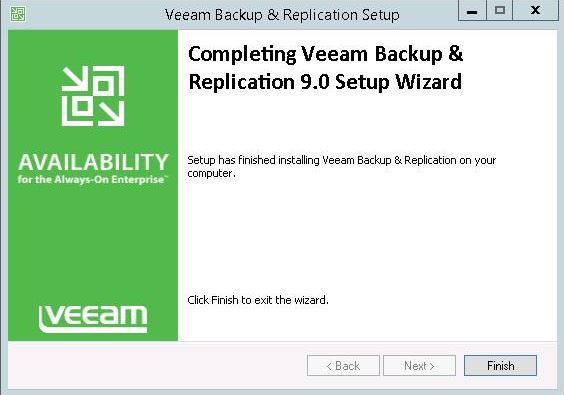
Click Finish:
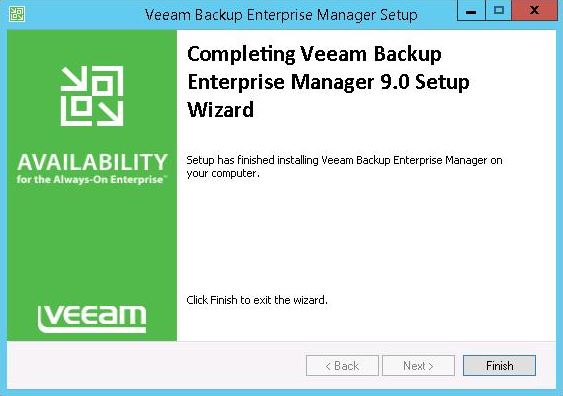
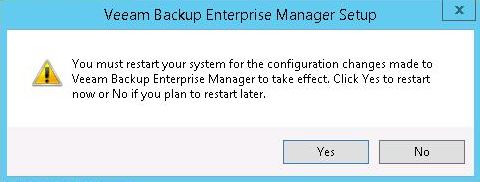
You will now need to reboot the Veeam server again. Click Yes:
After the reboot, we can relaunch the installer. Now that Backup Enterprise Manager has been installed we are given the option to upgrade Backup and Replication:
Click Next:
Accept the EULA and click Next:

Again, we get a list of Veeam components that will be upgraded. Note that the backup catalog is not listed as it was upgraded during the previous phase. Click Next:
Again, we need to browse to an appropriate license file. Click Next:
Choose the default setting to use the LOCAL SYSTEM account for the Veeam services and click Next:
As before, select the existing SQL Server instance and database
Click Yes to connect to the database specified in the previous stage:

Click Install:
Again, the install may take a while so sit back and relax for a while:
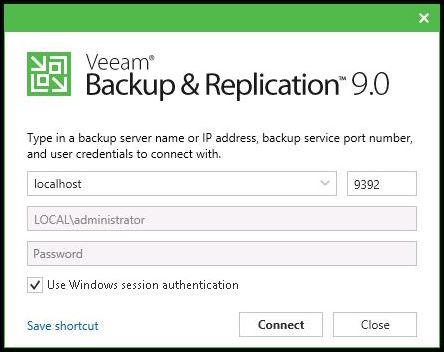
Once the install has completed, we’ll notice something new. Because the management console is now a standalone component, double-clicking on the desktop link will launch a login dialog, rather than bringing us directly to the management screen. Here, we need to provide the IP address or hostname of the server and provide credentials. Or, as in my case where I am on the console of the Veeam server and logged in as an authorised user, I can simply check the box “Use Windows session authentication” and click Connect:
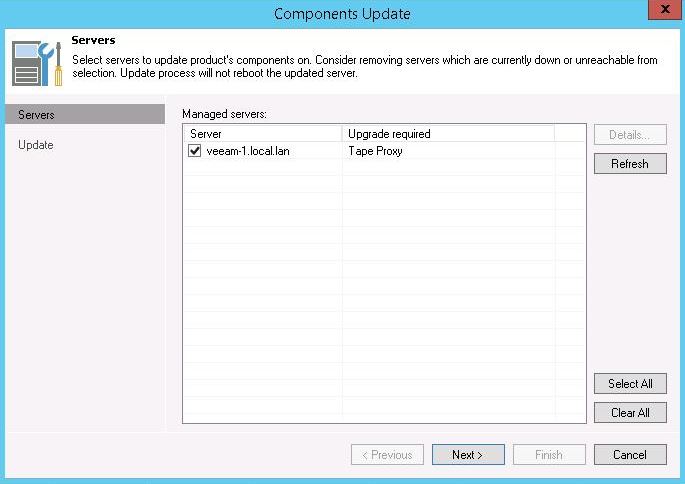
After this first login, you are prompted to upgrade any additional components not handled by the upgrade installation. In my case, the local tape proxy server needed to be updated. Select any components that you wish to update and click Next:
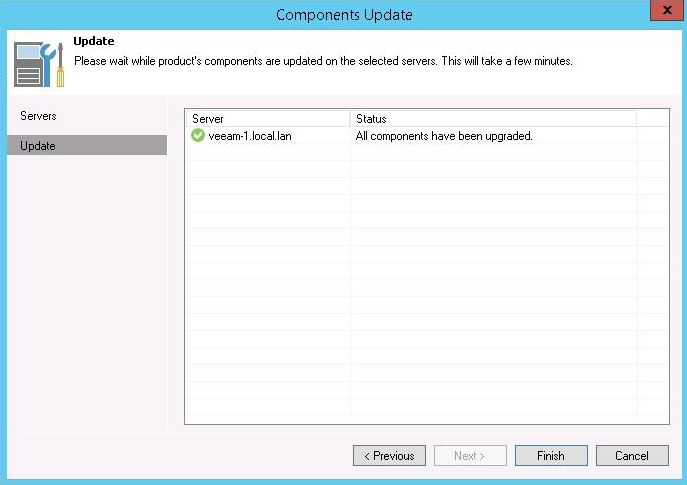
When all the updates have completed click Finish:
Now we get our first good look at the new interface. New graphics and a sharper look and feel. But thankfully, everything looks familiar and we don’t need to learn a new interface.
All that remains to be done now is to re-enable our jobs. Go to the Job tab and right click each of the jobs that we disabled before beginning the upgrade process. Uncheck the Disable box:
Thanks for reading. In later blogs I’ll go through some of the new features in Veeam Availability Suite v9. Until then…
